
How to Put a Tattoo Gun Together?

Introduction
Building a high-quality tattoo machine is essential for any tattoo artist. Knowing the individual parts and correctly assembling them is key to ensuring safe and professional tattoo work. This guide provides a complete overview of assembling both coil-wound and rotary tattoo machines. It will help you understand each component and walk through the assembly steps. With the information in this guide, you can feel confident that your machine is built properly to deliver accurate, high-quality tattoos to your clients safely.
What Is the Structure of Your Tattoo Machine?
Tattoo artists usually use either contemporary rotary machines or coil tattoo machines, which have been around for a very long time. Every one of these operates differently and requires assembly in accordance with certain guidelines. Building them smoothly will be much easier if you are aware of the parts and functions. Let's get to know tattoo machines first!
1.Inside a Coil Tattoo Machine
The needle in coil tattoo machines is powered by electromagnetic energy derived from wire coils. The armature bar is pulled and pushed up and down by a magnetic field created as electricity passes through the coils. The needle is moved in order to inject ink.
There are five main parts that make this happen:
- Front/Main Spring: The top of the armature bar is where the front spring is attached. It functions something like a shock absorber, guiding the movement of the bar to manage the smooth up-and-down action of the needle. As a result, the line work is accurate and reliable.
- Armature Bar: The armature bar is a pivot arm made of iron that holds the needle and moves it up and down. When powered, electromagnetic forces from the coils launch it upwards while the spring pulls it back down. This creates a cycling poking motion.
- Contact Screw: The contact screw is a small screw that tightens or loosens to adjust the electromagnetic power. It pivots to connect or break the electrical circuit, which makes the coils activate. This allows control of the poke strength.
- Wire Coils: The wire coils are bundles of thin copper wire wrapped tightly together in a spiral shape. Electric current flows through them, creating the electromagnetic field that drives the armature bar. More wraps means more power.
- Tube/Vise: The tube vice holds the needle tube steady using a clamping mechanism. It can be adjusted up, down, forward, and back to set the needle depth and position the machine comfortably in your hand.
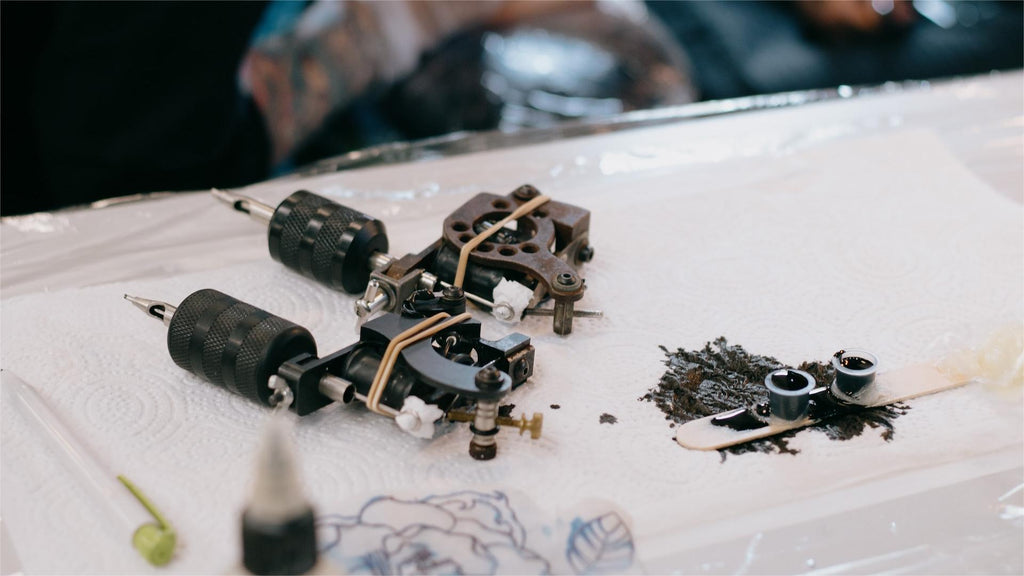
2.Inside a Rotary Tattoo Machine
Rotary tattoo guns use a motor rather than coils to drive the needle up and down. The motor spins a cam that converts that motion into straight up-down movement. There are four central parts:
- Motor: The motor is a small electric-powered spinning engine, kind of like what's inside a power drill. When powered, it continuously spins at high speeds. Better motors create smoother operations.
- Cam / Eccentric Gear: The cam attaches to the end of the motor shaft. When the motor spins, it turns the oval-shaped cam in a circle. This off-center rotation gets converted into clean-up and down motion.
- Needle Drive Bar: The needle drive bar connects to the cam and guides the needle. As the off-center cam spins, it pushes the drive bar up and down in a straight line, poking the needle in and out of the skin.
- Grip: The grip piece is the plastic or rubber handle that lets you comfortably hold onto the machine. It anchors and guides the needle cartridges. The grip allows adjusting the needle depth and angles.
How to Assemble a Coil Tattoo Gun?
Constructing a coil tattoo machine takes precision assembly of springs, contacts, coils, and other parts that guide the needle. Follow these key steps:
1.Attach the Coils
First, firmly attach the wire coils to the metal coil baseplate using a strong glue. Make that the contact screws align with the electrical terminals on the coils. Verify every alignment. The gadget is powered by electromagnetic energy from the coils.
2.Set the Armature Bar and Springs
The armature bar and springs control the needle's smooth up-and-down poking motion. Attach one end of the front spring to the top of the armature bar, then connect the back spring to the bottom. Place this assembly centered directly over the coils.
3.Adjust Contact Screw
Insert the contact screw through the contact screw post hole on the baseplate until it touches the bottom. Slowly back it out until there is a 1-2mm gap to the front spring. This gap is crucial for controlling the electromagnetic power from the coils.
4.Finalize the Assembly
In order to maintain the needle at the correct depth and angle, tighten the tube vice. Put handles on the sides so you can handle it. Rubber bands can be used to keep vibration interference away from cables and to fasten them. Verify the alignments, and your tattoo machine with coils is ready!
Precision assembly transforms a pile of tattoo machine parts into a powerful, reliable tool for ink artistry. With practice, coil machine construction becomes instinctive. Next, we'll look at the process for assembling modern rotary tattoo guns.

How to Assemble a Rotary Tattoo Gun?
Rotary machines require careful construction of the motor, cam mechanism and grip. Follow these key steps:
1.Install the Motor
First, insert the electric motor into the oval cavity of the machine frame. Gently connect the thin contact pins protruding from the motor to the contact board with wiring. Secure using the thumbscrew bolt through the center. This powers everything.
2.Connect Cam Wheel & Drive Bar
The cam wheel attaches to the end of the motor shaft to convert spinning motion into up/down movement. Press it securely onto the shaft. Then insert one end of the needle drive bar into the guide hole on the wheel.
3.Assemble the Grip
The rubber grip piece is what you hold when tattooing. It guides and supports the needle cartridges. Carefully slide the grip end-cap over the drive bar, feeding the bar through the hole at the top. Twist it into place firmly but gently.
Constructing rotaries requires delicacy - but pays off in smooth performance. Unlike coils, assembled rotaries should run almost silently when powered. Next we'll cover safely testing completed machines.


TATVIDA Wireless Tattoo Machine | Beginner Freindly
Apply a $35 discount using code: PULSE
Safety and Testing
Before using your homemade tattoo machine, you must thoroughly test it to confirm both safety and proper functionality. This critical process involves:
1.Sterilization
Since tattooing punctures skin, infection risks abound. So first, fully sterilize all non-disposable metal components in a medical-grade autoclave or with strong antibacterial hospital cleaners. Completely eliminate germs. Keep components packaged until use.
2.Electrical Safety Checks
Tattoo machines require careful, secure wiring to prevent sparks, shorts or shocks. Double and triple verify all solder connections, contacts, switches and foot pedals are tightly fastened with no exposed copper. Power it on to test smooth electrical operation.
3.Functionality Testing
Finally, do a full test run with fake skin substituting for human skin. Insert needles and tubes without actual ink. Closely listen for uneven buzzing, grinding interference or stuttering needle movement, indicating problems needing correction pre-use.
Responsible safety testing ensures your machine is safe and ready for clients. No shortcuts - follow each step to protect yourself and future customers.
Conclusion
Assembling coil and rotary tattoo machines requires precision design knowledge, expert craftsmanship, and strict safety adherence. With practice and care, artists can confidently build high-performing, reliable equipment ready to meet the demands of tattoo artistry. Start your tattoo journey now!


